
🌱 GrowMore CookMore App
Know what to sow, when to harvest, and discover recipes for your garden produce.

Right then, let’s talk about one of the most satisfying things you can do in your garden come autumn — getting your garlic and onions tucked in for winter. Now I know what you’re thinking: “Tony, it’s getting cold, everything’s dying back, why on earth am I still out there planting stuff?” And honestly? That’s exactly what I thought the first time Ronny told us to get garlic in the ground in October. I looked at him like he’d lost the plot. But here’s the thing — garlic and onions actually need that cold spell. It’s like they have to go through a bit of hardship before they can produce something brilliant. Bit like us, really, you know what I mean?
I’ve been overwintering garlic and onions for about six years now, and every single year I get better results than the spring-planted stuff. Bigger bulbs, stronger flavour, earlier harvests. It’s one of those gardening tricks that once you try it, you’ll never go back. So grab a cuppa, sit yourself down, and let us walk you through everything I’ve learned — the hard way, mostly — about getting properly massive garlic and onions by planting them before winter sets in.
Why Overwinter in the First Place?
Here’s the science bit, and I’ll keep it simple because I’m no professor. Garlic and onions are what they call vernalisation-dependent — basically, they need a period of cold (usually around 6-8 weeks below 10°C) to trigger proper bulb formation. Without that cold snap, you end up with what’s essentially a glorified spring onion. Nothing wrong with spring onions, mind you, but that’s not what we’re after here.
When you plant in autumn, the cloves or sets get a chance to establish roots before the ground gets properly frozen. They just sit there quietly over winter, doing their thing underground, and then the second the soil warms up in spring, they’re off like a rocket. Meanwhile, anything you plant in March is still trying to get its roots sorted while the autumn-planted stuff is already putting on serious growth. It’s like giving them a six-week head start in a race.
Plant your garlic cloves about 4-6 weeks before you expect the ground to freeze solid. For most of us in the UK, that means mid-October to early November. Don’t leave it too late or the roots won’t establish properly before the cold really bites.
Choosing the Right Varieties — This Matters More Than You Think
Not all garlic is created equal, and I learned this the expensive way. First year I tried overwintering, I just bought a bulb from Tesco, broke it apart, and shoved the cloves in. Some of them came up, most of them rotted. The problem? Supermarket garlic is often softneck varieties bred for mild climates — they’re not always suited to our cold, wet winters.
What you want for overwintering are hardneck varieties. These are the tough lads of the garlic world. They produce those beautiful curly scapes in early summer (which are delicious stir-fried, by the way), and they form bigger, more flavourful cloves. Some of my favourites include Lautrec Wight, which has this gorgeous pink skin and a proper punchy flavour. There’s also Elephant garlic, which technically isn’t true garlic but produces absolutely massive bulbs — Ronny grew one last year the size of a bloody cricket ball, and he hasn’t let any of us forget it.
For onions, you want varieties specifically bred for autumn planting. Look for names like Radar, Shakespeare, or Troy. These have been selected to handle the cold without bolting when spring arrives. Regular onion sets planted in autumn will often just bolt straight to flower, which is proper frustrating when you’ve been nurturing them for months.
Preparing Your Ground — Don’t Skip This Bit
I know it’s tempting to just shove things in and hope for the best. Trust us, I’ve been that soldier. But a bit of prep now makes all the difference come harvest time. Both garlic and onions hate sitting in waterlogged soil over winter. If your plot is heavy clay like mine, you need to work on drainage or you’ll lose half your crop to rot.
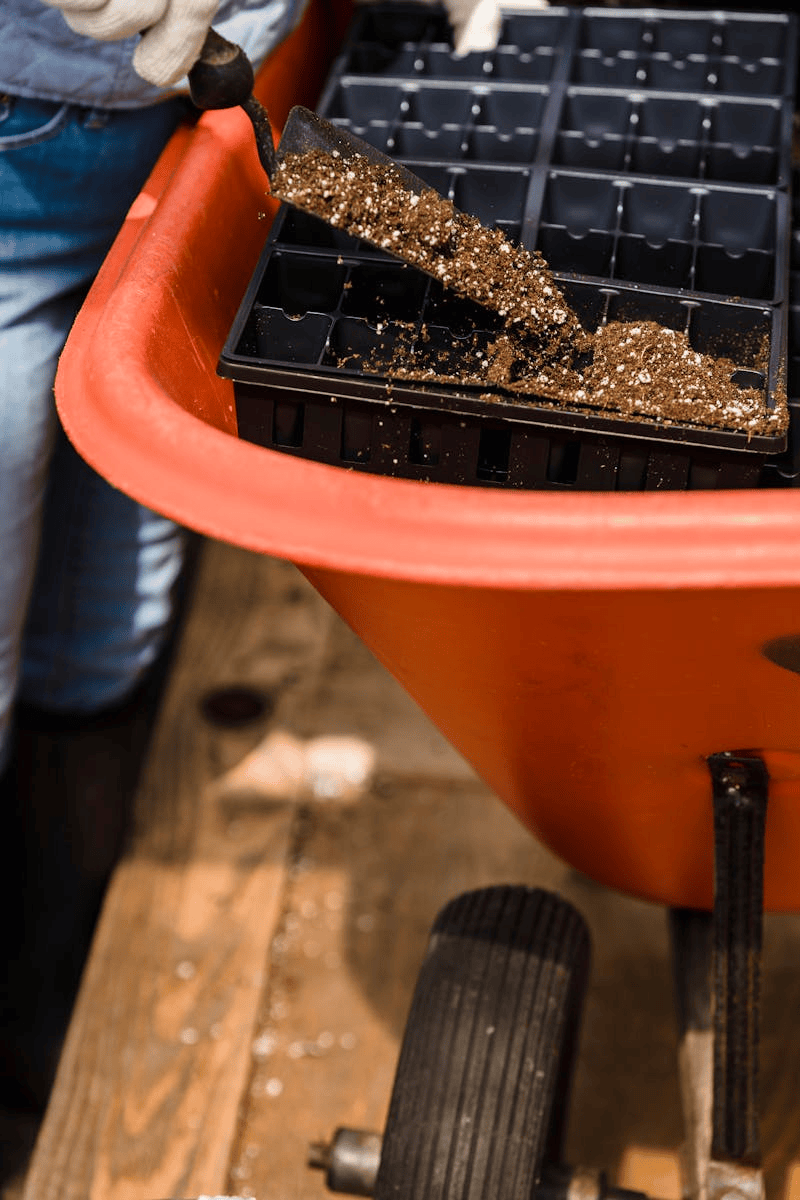
First things first — dig your bed over and work in plenty of well-rotted compost or manure. I usually add a couple of buckets per square metre. This improves drainage in clay soil and adds nutrients that’ll be available when the plants start growing in spring. If your soil is really heavy, consider raising the bed a few inches. Even six inches of height can make a huge difference to drainage.
One thing I started doing a couple of years ago that’s made a real difference is adding horticultural grit to my garlic beds. About a handful per planting hole, mixed in with the soil. It keeps things free-draining right around the bulb where it matters most. Cheap as chips from any garden centre, and your garlic will thank you for it.
If your soil is particularly heavy or your plot tends to flood, try planting garlic in modules in October, keeping them in an unheated greenhouse or cold frame, then planting out in February when the worst of the wet weather has passed. They’ll still get enough cold to vernalise, but they won’t rot. This saved my garlic crop two years running.
Planting Garlic — Getting the Depth and Spacing Right
Right, let’s get planting. With garlic, you want to break your bulb apart into individual cloves, but here’s the key — only plant the outer cloves. The big, fat ones around the outside of the bulb. The little weedy ones in the middle? Chuck them in your cooking. They’ll never produce a decent-sized bulb and they’re just wasting space in your bed.
Plant each clove pointy end up (this sounds obvious but you’d be surprised — JB planted an entire row upside down one year and couldn’t work out why nothing came up. Bless him). Push them in so the tip is about 2-3 centimetres below the surface. If you’re in a really cold area, go a touch deeper — maybe 4cm — for extra insulation. Space them about 15cm apart in rows 30cm apart. They need room to develop those big bulbs we’re after.
Now here’s something Ronny taught us that I’d never read in any book. After planting, he stamps the soil down firmly over each clove with the back of his boot. His logic? It stops the frost from heaving them out of the ground. And you know what? He’s right. Before I started doing that, I’d find half my cloves sitting on the surface after a hard frost. Now they stay put.
Planting Onions — Slightly Different Approach
Onion sets are even easier than garlic, if I’m honest. Push each set into the soil so just the tip is showing above the surface. Space them about 10cm apart in rows 25-30cm apart. The main enemy of autumn-planted onions isn’t cold — it’s birds. Specifically, blackbirds who think your carefully planted onion sets are actually worms and pull the lot out. I’ve come down to the plot in the morning to find every single set yanked out and tossed aside. Absolute carnage.
The solution? Cover your onion bed with netting or fleece for the first few weeks until the roots establish and the birds can’t pull them out anymore. Some people use twiggy sticks pushed into the soil between the rows, which seems to confuse the birds enough to leave them alone. I use a bit of chicken wire laid flat over the bed — it’s ugly but it works.
One more thing with onion sets — trim the wispy tail at the top before planting. That’s the bit birds grab onto. If there’s nothing sticking up to pull, they tend to leave them alone. Audrey showed us that trick and it’s saved us more onion sets than I can count.

Winter Protection — Keeping Everything Snug
Once everything’s in the ground, your job over winter is mainly just watching and waiting. But there are a few things you can do to help your crops through the worst of it. Mulching is the big one. A good thick layer of straw, well-rotted compost, or even shredded leaves over your garlic and onion beds acts like a duvet. It insulates the soil against the worst frosts and stops that freeze-thaw cycle that heaves cloves out of the ground.
I put about 5-8cm of straw mulch over my garlic beds in late November, once the ground has cooled down properly. Don’t mulch too early or you’ll keep the soil warm and encourage soft growth that’ll get hammered by the first proper frost. You want the soil to cool down first, then insulate it at that temperature.
The other thing to watch for is waterlogging. If we get one of those prolonged wet spells in January or February (and we usually do, let’s be honest), check your beds aren’t sitting in standing water. If they are, you might need to dig a small drainage channel alongside the bed. I lost an entire row of garlic to neck rot one year because the bed was basically underwater for three weeks. Gutting.
If you’re growing in raised beds, you’re already ahead of the game for drainage. But even raised beds can get waterlogged in a proper wet winter. Make sure the base of your raised bed has good contact with the soil beneath so water can drain through, not just sit in the bottom of the bed like a bathtub.
Spring Care — When Your Patience Finally Pays Off
Come late February or early March, you’ll start to see green shoots pushing through the mulch, and honestly, it’s one of the best feelings in gardening. While everyone else’s plot still looks like a muddy wasteland, your garlic and onions are already up and growing. Makes you feel dead clever, like you know something they don’t.
Once growth starts, pull back the mulch a bit to let the shoots through and give them some light. Start feeding with a general-purpose liquid feed every couple of weeks — I use seaweed extract because it’s gentle and full of trace elements. Don’t go mad with nitrogen though, or you’ll get loads of leaf growth but small bulbs. It’s a balance.
For garlic, keep an eye out for scapes — those curly flower stems that hardneck varieties send up in May or June. Snap these off as soon as you see them. If you leave them, the plant puts energy into making flowers instead of fattening up the bulb. Plus, the scapes themselves are absolutely delicious. Chop them up and use them like spring onions, or blitz them into a pesto. Garlic scape pesto on toast is one of my favourite things in the entire world. I could eat it every day and not get bored.
Common Problems and How to Avoid Them
Right, let’s talk about what can go wrong, because stuff always goes wrong. That’s gardening. The biggest killer of overwintered alliums is white rot. It’s a fungal disease that lives in the soil and once you’ve got it, you’ve got it for 15-20 years. The symptoms are yellowing, wilting leaves and white fluffy mould around the base of the bulb. If you find it, pull up the affected plants immediately, bag them, and bin them. Don’t compost them, whatever you do.
The best prevention is crop rotation. Never plant garlic or onions in the same spot two years running. I use a four-year rotation — alliums, brassicas, legumes, roots. It’s not foolproof but it helps. Also, don’t bring in garlic from unknown sources. Buy from reputable seed suppliers who guarantee disease-free stock.
Rust is another common one — you’ll see orange dusty spots on the leaves. It looks terrible but it’s rarely fatal. The best thing to do is improve air circulation by not planting too close together, and remove the worst-affected leaves. I’ve found that a potassium-rich feed (like comfrey tea) helps plants resist rust better than those that are overfed with nitrogen.
Then there’s bolting — when your onions decide to flower instead of making a nice fat bulb. This is usually caused by a cold spell followed by a warm spell followed by another cold spell. Basically, the plant gets confused about what season it is and goes straight to reproduction mode. Not much you can do about the weather, but choosing bolt-resistant varieties helps a lot. That’s why Radar and Shakespeare are so popular for autumn planting — they’ve been specifically bred to handle our unpredictable climate.
Harvesting — The Grand Finale
Overwintered garlic is usually ready from late June to mid-July. You’ll know it’s time when the bottom third of the leaves have gone yellow and dried off. Don’t wait until all the leaves die back or the bulbs will start to split in the ground, which ruins their storage life. Ease them out with a fork — never pull them, or you’ll damage the stem and invite rot.
Onions are typically ready a few weeks later, from late July into August. The tops will flop over naturally when they’re done growing. Leave them for a week or so after the tops fall, then lift them and lay them out to dry. I dry mine on a wire rack in the greenhouse for about two weeks until the skins are papery and the necks are completely dry. Then they’ll store for months.
Last year, my overwintered garlic produced bulbs averaging 7cm across. Some of the Lautrec Wight were even bigger. The flavour was incredible — proper strong, punchy garlic that you could taste in everything. JB’s spring-planted garlic, by comparison, was about half the size. I didn’t say anything, mind you. Well, maybe I mentioned it once. Or twice.
- Choose hardneck garlic varieties and autumn-specific onion sets
- Prepare beds with compost and grit for drainage
- Plant garlic 4-6 weeks before ground freezes (mid-Oct to early Nov)
- Plant cloves pointy end up, 2-3cm deep, 15cm apart
- Push onion sets in so just the tip shows, 10cm apart
- Protect onions from birds with netting or wire
- Mulch beds in late November with 5-8cm of straw
- Feed with seaweed extract when growth starts in spring
- Remove garlic scapes when they appear (and eat them!)
- Harvest garlic late June, onions late July, and dry properly for storage
Storage Tips for Maximum Shelf Life
There’s no point growing brilliant garlic and onions if they go off in a month because you stored them wrong. Garlic needs to be cured properly — hang it in bunches or lay it on racks in a dry, airy spot out of direct sunlight for two to three weeks. Once cured, it’ll keep for six months or more in a cool, dry place. I keep mine in a mesh bag hanging in the garage. Some people plait it, which looks lovely but I haven’t got the patience for that, if I’m honest.
Onions are similar — cure them well and store them somewhere cool and dry with good air circulation. Don’t store them near potatoes though, because potatoes give off moisture and gases that make onions go soft faster. I made that mistake once and ended up with a box of mushy onions and sprouting spuds. Not ideal.
If you’ve grown more than you can use fresh, consider making garlic oil, pickling pearl onions, or drying sliced garlic in a dehydrator. Garlic powder made from your own homegrown stuff is in a completely different league to the shop-bought dust. The flavour is unreal.
If you’re growing garlic and onions, the GrowMore CookMore app is properly brilliant for keeping track of what you’ve got in store. The Freezer Tracker lets you log everything you’ve preserved with use-by dates so nothing goes to waste, and the Store Smart feature tells you exactly which crops play nicely together in storage and which ones to keep apart. Plus there are over 200 recipes so when you pull out that gorgeous homegrown garlic in January, you’ll know exactly what to do with it. Belting.
Look after yourselves. Take good care. 🌱
Leave a Reply