
🌱 GrowMore CookMore App
Know what to sow, when to harvest, and discover recipes for your garden produce.

Tucking the garden in for winter. That’s what this is really about. Think of it like putting the allotment to bed — making sure everything is snug, protected, and set up to wake up healthy in spring. It’s not the most glamorous job in gardening, but it’s one of the most important. What you do to your beds in November and December directly affects how productive they are next year. Skip the winter prep and you start spring on the back foot. Do it properly and you hit the ground running.
I used to just abandon my beds at the end of the season. Summer crops came out, weeds moved in, rain hammered the bare soil, and by March the beds were compacted, waterlogged, and full of every weed known to science. It took weeks of work to get them back into shape. Then Ronny showed us his beds in spring — beautiful, crumbly soil, barely a weed in sight, ready to plant. “I prepped them in November,” he said, like it was the most obvious thing in the world. And it is. I just hadn’t been doing it. Classic me.
So now winter bed prep is part of my routine. It takes about a weekend for the whole allotment, and the payoff in spring is massive. Less work, better soil, fewer weeds. What’s not to love?
Clear the Decks
First job — remove all spent crops and plant debris. Old tomato plants, bean haulms, courgette leaves, the lot. Anything that’s still green and healthy can go on the compost heap. Anything that was diseased — blight-affected tomatoes, mildewed courgettes, club-rooted brassicas — goes in the green bin or gets burned. Don’t compost diseased material unless your heap gets properly hot (which most domestic heaps don’t). You’re just preserving the disease for next year otherwise.
Pull up any annual weeds that have snuck in during the final weeks of the season. Get the roots out — don’t just snap the tops off. Any perennial weeds that you’ve been battling all year, give them one more going over. You won’t eliminate them but every bit of root you remove is one less bit that’ll regrow in spring.
I also clear my paths, tidy the edges of the beds, and generally make the place look respectable. JB says I’m the only person who tidies their allotment for winter like I’m expecting visitors. I just don’t like the place looking abandoned. It’s still my plot even if I’m not growing much. Standards, man. Standards.
Adding Organic Matter
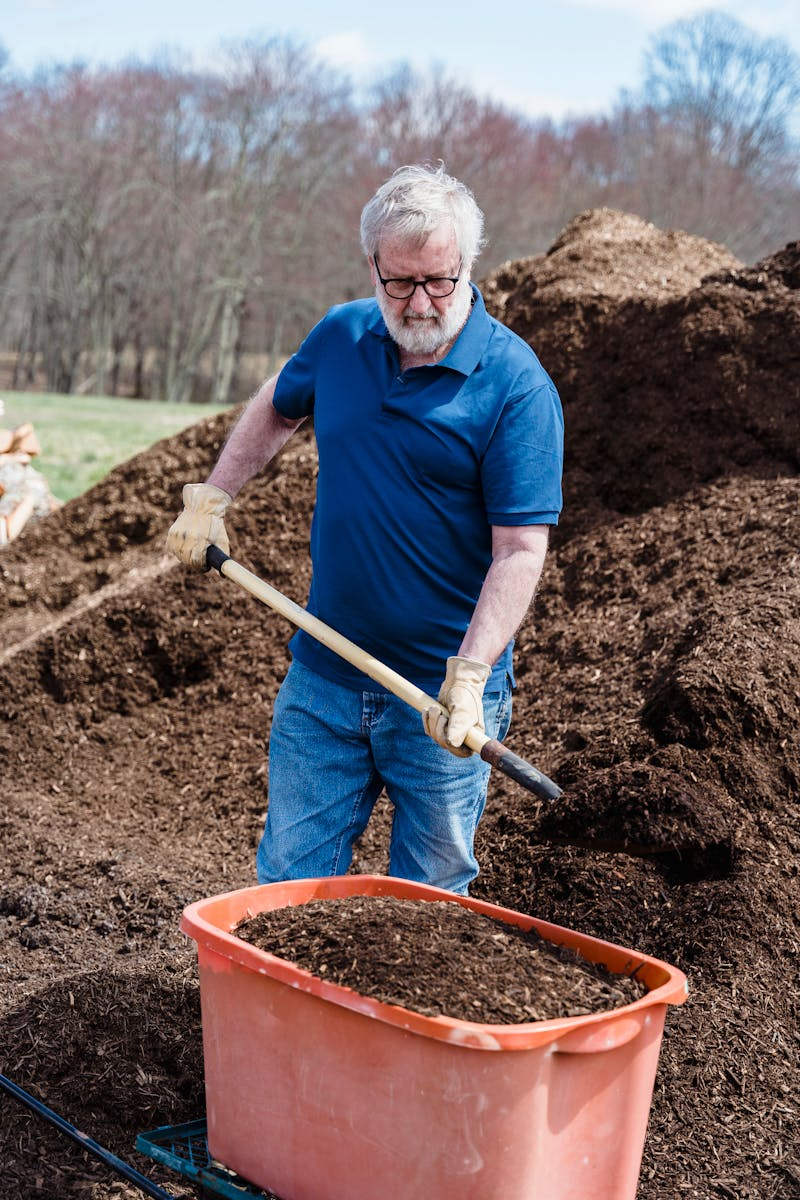
This is the big one. Winter is the perfect time to add organic matter to your beds because it has months to break down and integrate with the soil before you need to plant. Spread a thick layer — 5-10cm — of well-rotted manure, garden compost, or leaf mould over the surface of every bed. Don’t dig it in. Just leave it on top.

The worms will pull it down into the soil over winter. Seriously. Just watch. By spring, most of it will have been incorporated naturally. The worms do the digging for you. This is the no-dig approach and it works brilliantly. Less work for you, better soil structure, happier worms. Everybody wins.
I use a mix of homemade compost and horse manure from the local stables. Both are free (well, the compost is free because I made it, and the stables are happy to give manure away). If you haven’t got a supply of either, bags of composted bark or municipal compost from the council work fine. Anything organic that’s well rotted. Just not fresh manure — that needs to break down more before it goes on beds.
Green Manures
If you haven’t got enough compost or manure to cover all your beds (and most of us don’t), green manures are a brilliant alternative. These are fast-growing crops that you sow on empty beds specifically to be dug in later. They suppress weeds, protect the soil from rain, and add organic matter and nutrients when you dig them in before spring planting.
For autumn sowing, the best options are winter field beans (fix nitrogen), grazing rye (provides excellent ground cover), and winter tares (another nitrogen fixer). Sow thickly in October or November and let them grow through winter. In late February or March, chop them down and dig the green growth into the soil a few weeks before planting. The nutrients release as the green material decomposes.
I use grazing rye on most of my empty beds because it grows in almost anything and provides amazing ground cover. The beds that have had green manures on them all winter always have better soil structure in spring than the ones I just left bare. It’s noticeable. Like, obviously, visibly noticeable. The green manure beds are darker, crumblier, and full of worms. The bare beds are paler, denser, and less alive.
To Dig or Not to Dig
The great gardening debate. Should you dig your beds over in winter? Some people say yes — turning the soil exposes pest larvae to birds and frost. Others say no — digging destroys soil structure and worm tunnels. I used to dig everything. Now I mostly don’t. I add organic matter on top and let nature do the work. For me, this approach has given better results with less effort. But I still dig if there’s a specific reason — breaking up compaction, incorporating lime for brassica beds, or dealing with a particularly weedy bed.
There’s no single right answer. Do what works for you and your soil. If your beds are in good shape and you’re adding organic matter every year, you can probably get away without digging. If they’re compacted and heavy, a bit of digging might help. Just don’t dig when the soil is waterlogged — it does more harm than good. Wait for a dry spell.

Protecting Structures
While you’re prepping beds, give your structures some attention too. Check raised bed sides for rot and repair or replace any that are failing. Clean and oil tools. Check your greenhouse for broken panes. Make sure your shed roof is watertight (there’s nothing worse than reaching for your secateurs in March and finding they’ve been sitting in a puddle all winter — rusty as anything).
Drain and store any irrigation equipment. Turn off outside taps. Empty water butts if they’re in a frost-prone position (a frozen water butt can crack). Or at least make sure the tap is open so expanding ice can escape. I lost a water butt to frost damage one year. Split right down the side. Not cheap to replace and entirely preventable.
The Final Walk-Around
Before you close the gate on the growing season, do a final walk-around. Check that everything is in order. Beds covered or green-manured. Tools cleaned and stored. Paths clear. Compost heap turned one last time. Anything tender covered or brought inside. It’s oddly satisfying, this final tidy. Like closing a book at the end of a good chapter. You know there’s more to come, and you’ve set the stage for it.
I do this walk-around with Daisy every November. She doesn’t understand what I’m doing but she enjoys the sniff-about. I explain my plans for next year to her as we walk. She doesn’t listen. But it helps me think. By the time we get home, I’ve got a rough plan for spring already forming. And the beds are ready. Asleep but ready. Just waiting for the warmth to come back.
📱 Plan Ahead with GrowMore CookMore
Winter bed prep is really the beginning of next year’s growing season. While your beds are resting, start planning what goes where in spring. The GrowMore CookMore app makes this easy with crop rotation guidance for all 84 vegetables, so you know which beds need what treatment over winter. The Garden Journal lets you record what you’ve added to each bed and when, building a picture of your soil’s health over time. And the Grow Calendar starts sending early season reminders from January, so you know exactly when it’s time to move from resting to planting. A winter well spent means a spring well started. Download from the App Store and give your garden the winter care it deserves.
Look after yourselves. Take good care. 🌱
Leave a Reply