
🌱 GrowMore CookMore App
Know what to sow, when to harvest, and discover recipes for your garden produce.

Garlic. Is there anything better? I put garlic in literally everything. Pasta, stir-fries, roasts, soups, bread — if it’s savoury, it’s getting garlic. And growing your own garlic is one of the most satisfying things you can do on an allotment because it’s dead easy, it stores for months, and home-grown garlic is about ten times better than the stuff from the supermarket. The flavour is stronger, more complex, more… garlicky. If that’s a word. It is now.
Now I’m assuming you planted your garlic last autumn (or even early spring for spring-planted varieties) and it’s been quietly doing its thing all through winter and into summer. By about July, those green stems start to yellow and flop over, and that’s your signal that harvest time is approaching. But — and this is the crucial bit — timing the harvest right is really important. Too early and the bulbs won’t have finished sizing up. Too late and the skins start to split and they won’t store well. There’s a window of about two weeks where everything is perfect, and hitting that window is the difference between garlic that lasts until Christmas and garlic that goes soft by October.
When to Harvest
The timing depends on when you planted and the variety, but as a general rule, autumn-planted garlic is ready from mid-June to late July in the UK. Spring-planted garlic is a bit later — July to August. The signs to look for: the lower leaves are turning yellow-brown, but there are still some green leaves at the top. You want about half the leaves gone and half still green. All green means it’s too early. All brown means you’ve probably left it a bit late — harvest immediately.
If you’re not sure, carefully scrape away the soil from around one bulb and have a look. You should be able to see individual cloves defined through the skin. If the bulb is still smooth with no clove definition, it needs more time. If the cloves are clearly separated and the skin is starting to crack between them, you need to get them out now.
I check every few days once the leaves start yellowing. It’s a bit obsessive but garlic is one of those crops where a few days either way makes a real difference to how well it stores. Ronny checks his garlic every single day from mid-June onwards. He’s got it down to a science. His garlic lasts until April the following year. Mine usually makes it to December. I’m working on it.
How to Harvest
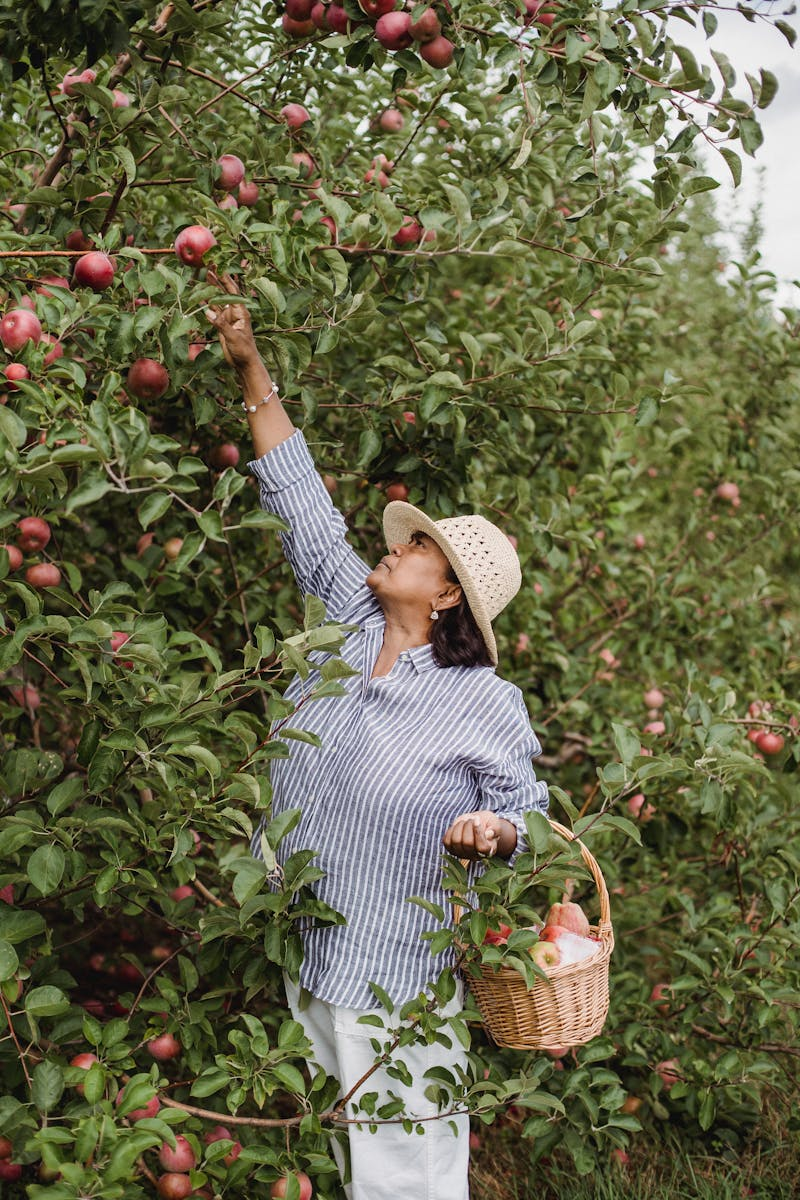
Don’t just pull them out by the stems. I know it’s tempting. You grab the green stem and yank. But you’ll either snap the stem off (leaving the bulb in the ground, very annoying), or damage the bulb as you wrench it through the soil. Neither is ideal.
Use a fork. Push it in about 15cm from the base of the plant, lever gently, and the whole bulb should come up cleanly with the roots and stem attached. Shake off the loose soil but don’t wash them — you want them dry. Don’t knock them together or bang them against things either. Garlic bruises easily and bruised cloves don’t store well. Treat them gently. Like little underground babies. Dirty, pungent, underground babies.

I harvest my garlic on a dry, sunny day if possible. The initial drying starts right there in the field. I lay the bulbs on a wire rack or an old pallet on the ground and let them sun-dry for a few hours. If the weather’s not cooperating (this is Britain, so that’s about half the time), I bring them straight into the shed or greenhouse to start drying.
Curing — The Secret to Long Storage
This is the step most people either don’t know about or skip, and it’s the most important part of the whole process. Curing is basically drying the garlic out properly so the skins tighten, the neck seals, and the bulb is protected from moisture and mould. Without proper curing, your garlic will go soft within weeks. With it, your garlic can last six months or more.
Lay the garlic out in a single layer in a warm, dry, well-ventilated place. Not in direct blazing sun — that can actually cook the cloves — but somewhere warm with good air flow. I use the inside of my greenhouse with the vents open. A spare room, a covered porch, or a shed with good ventilation all work fine. You can also hang them in bunches from the rafters if you’re going for the rustic French farmhouse look. Which I absolutely am. Always.
Leave them for two to three weeks. The skins will turn papery, the stems will dry completely, and the roots will become brittle. You’ll know they’re properly cured when the outer skins rustle when you handle them and the neck (where the stem meets the bulb) is completely dry and tight. If the neck is still soft or flexible, they need more time.
Storing Your Garlic
Once cured, trim the roots close to the bulb and cut the stems to about 3-4cm above the bulb. Or, if you want to plait them (which looks amazing and makes a great gift), leave the stems long and flexible. Garlic plaits are dead impressive hanging in the kitchen. They make you look like a proper gardener. I attempted plaiting last year and it looked like a garlic-scented bird’s nest. Audrey’s were perfect. Naturally.
Store cured garlic somewhere cool, dry, and well-ventilated. Not the fridge — it’s too humid and cold, which triggers sprouting. Not in a sealed container — they need air circulation. A mesh bag, a basket, or a wire rack in a cool kitchen, pantry, or dry shed is ideal. Temperature-wise, about 15-20°C is perfect for eating garlic. If you want maximum storage life, a consistent 0-4°C in low humidity works, but honestly, a cool kitchen corner works fine for most of us.

Check your stored garlic regularly. Remove any bulbs that are going soft or showing signs of mould — one bad bulb can spread to the others. And use the biggest, best bulbs first… actually no, use them last. The biggest, most perfect bulbs should be saved for planting in autumn. That way you’re improving your stock every year — selecting the best genetics for next year’s crop. I always save my 6-8 biggest and best bulbs for planting. The rest go to the kitchen.
Different Varieties and Their Storage
Not all garlic stores equally. Softneck varieties (the ones you can plait, like ‘Solent Wight’ and ‘Picardy Wight’) generally store longer — up to nine months if well cured. Hardneck varieties (‘Lautrec Wight’, ‘Music’, ‘Red Duke’) have more complex, interesting flavours but tend to only store for four to six months. Elephant garlic, which isn’t actually true garlic but a type of leek (wild, I know), stores for about three to four months.
I grow a mix of both. Softneck for long storage — these are the ones that see us through to spring. And hardneck for the incredible flavour — we use these first, from harvest through to about November. The hardneck varieties are absolutely phenomenal roasted whole and squeezed onto bread. Makes the house smell amazing. Makes me smell amazing too, though not everyone appreciates that as much as I do.
What to Do with a Garlic Glut
If you’ve grown loads (and garlic does produce well once you get the hang of it), you might find yourself with more than you can use before it goes. A few options:
Freeze it — peel the cloves and freeze them whole in freezer bags. They go a bit soft when defrosted but the flavour is still there. Perfect for cooking. I do this with any garlic that’s starting to sprout — catch it before it goes too far and freeze it.
Garlic oil — peel cloves, submerge in good olive oil, keep in the fridge. Use within a week or two (important for food safety — garlic in oil at room temperature can breed nasty bacteria). The oil becomes beautifully garlic-flavoured too. Double win.
Roast and freeze — roast whole bulbs, squeeze out the soft cloves, and freeze in ice cube trays. Pop out a cube whenever you need roasted garlic. Genius. I cannot take credit for this idea — Audrey told me. She’s basically a garlic encyclopedia.
And of course — give it away. Garlic is a brilliant gift for other gardeners. A nice plait of home-grown garlic at Christmas? People love it. Better than socks. Although I also love socks. Let’s call it equal.
📱 From Plot to Pantry with GrowMore CookMore
Growing garlic is only half the battle — the other half is storing it properly and using it before it goes off. The GrowMore CookMore app’s Store Smart feature tells you exactly how to store your garlic for maximum life, what it stores well next to, and what to keep it away from. The Freezer Tracker is brilliant for logging any garlic you’ve frozen — no more mystery bags at the back of the freezer. And with over 200 recipes in the app, you’ll never run out of ideas for using up your garlic harvest. The Cost Tracker lets you see just how much money you’re saving versus buying garlic from the shops — spoiler, it’s quite a lot when you factor in that one planted clove gives you a whole bulb. Get it on the App Store and make the most of every single clove.
Look after yourselves. Take good care. 🌱
Leave a Reply