What's in this module
- What a polytunnel actually is
- The benefits — why it's a game-changer
- Polytunnel vs greenhouse — the real differences
- What you can grow that you can't grow outside
- Common myths and fears — busted
- Planning permission — the actual rules
- The honest truth about maintenance
- Can a polytunnel pay for itself?
- Is a polytunnel right for you?
Right. So you've been thinking about getting a polytunnel. Maybe you've walked past one on someone else's allotment and seen them pulling out armfuls of tomatoes in September while yours outside have gone to mush with blight. Maybe you've seen them on YouTube or in a magazine and thought — could I actually do that?
Or maybe you've already got one sitting in a box in the shed and you're wondering what on earth you've let yourself in for.
Either way — brilliant. You're in the right place. Cuz here's what I'll tell you right now: getting a polytunnel was one of the best decisions I ever made on my allotment. Genuinely changed everything. But — and this is important — it's not a magic wand. It's not set and forget. And there are things I wish someone had told me before I spent the money.
That's what this module is for. By the end of it, you'll know exactly what a polytunnel can do for you, what it can't, and whether it's the right move for your growing. No sales pitch. Just the honest truth. Let's get into it.
What a Polytunnel Actually Is
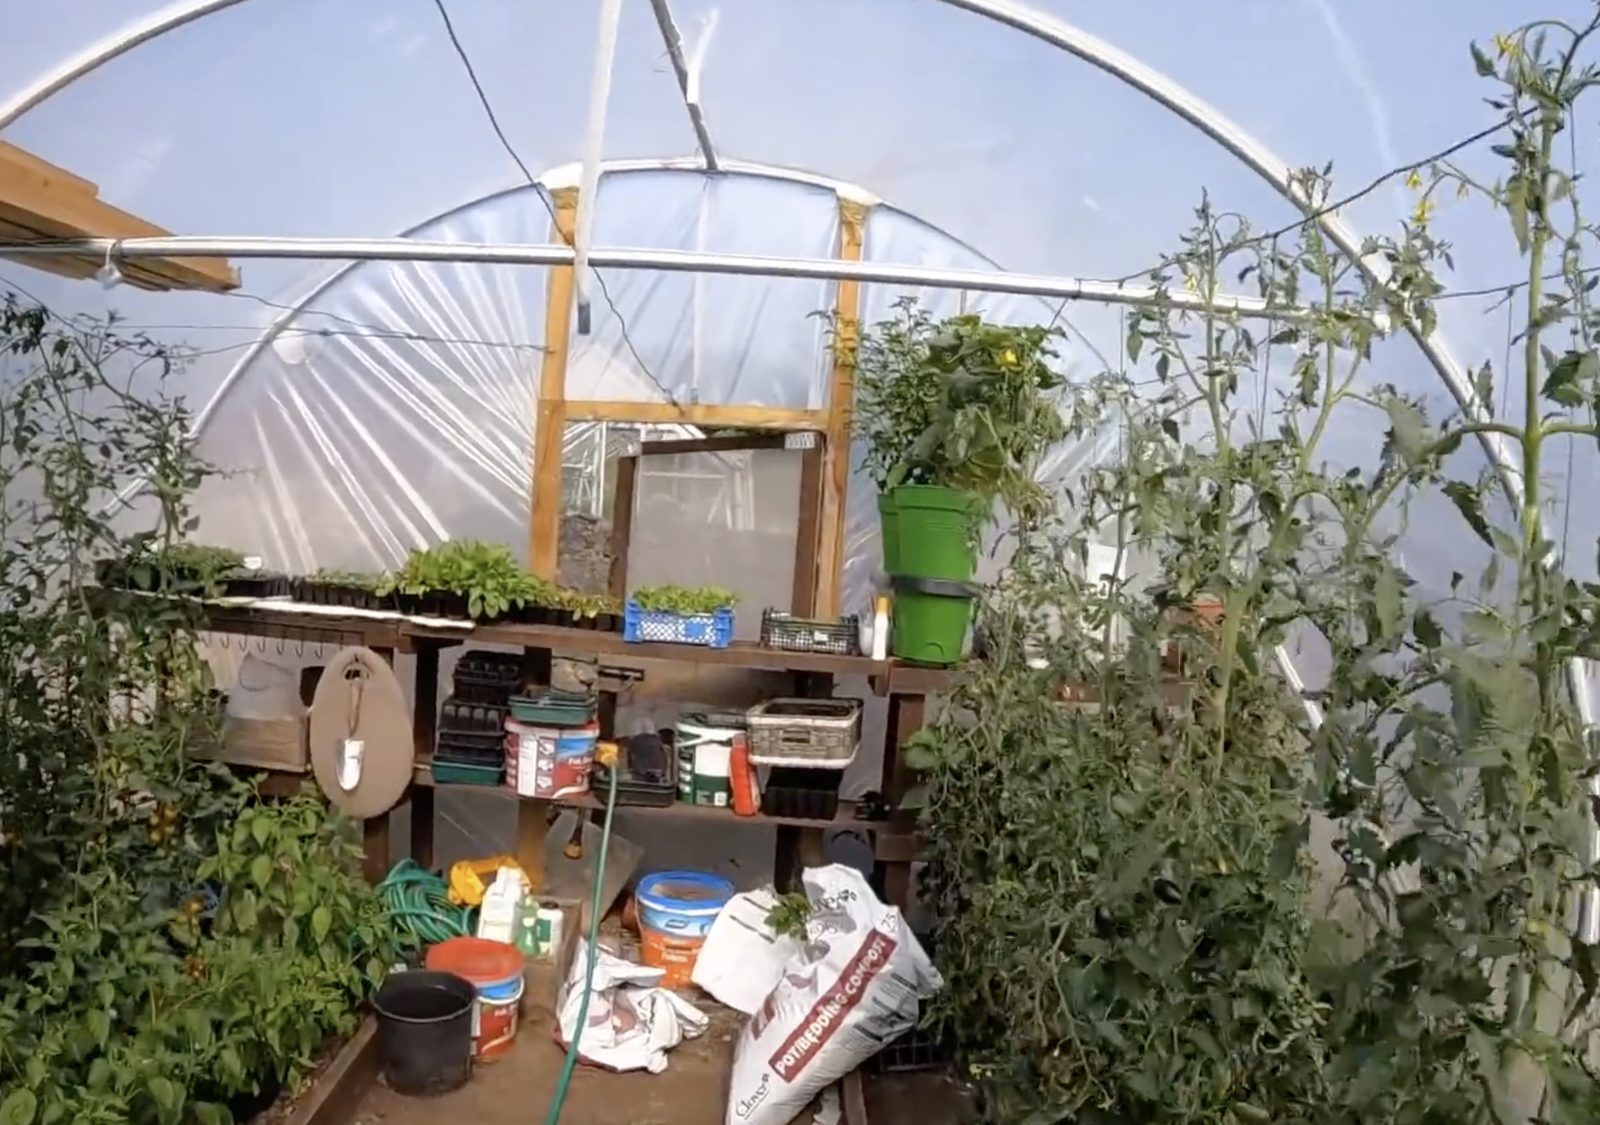
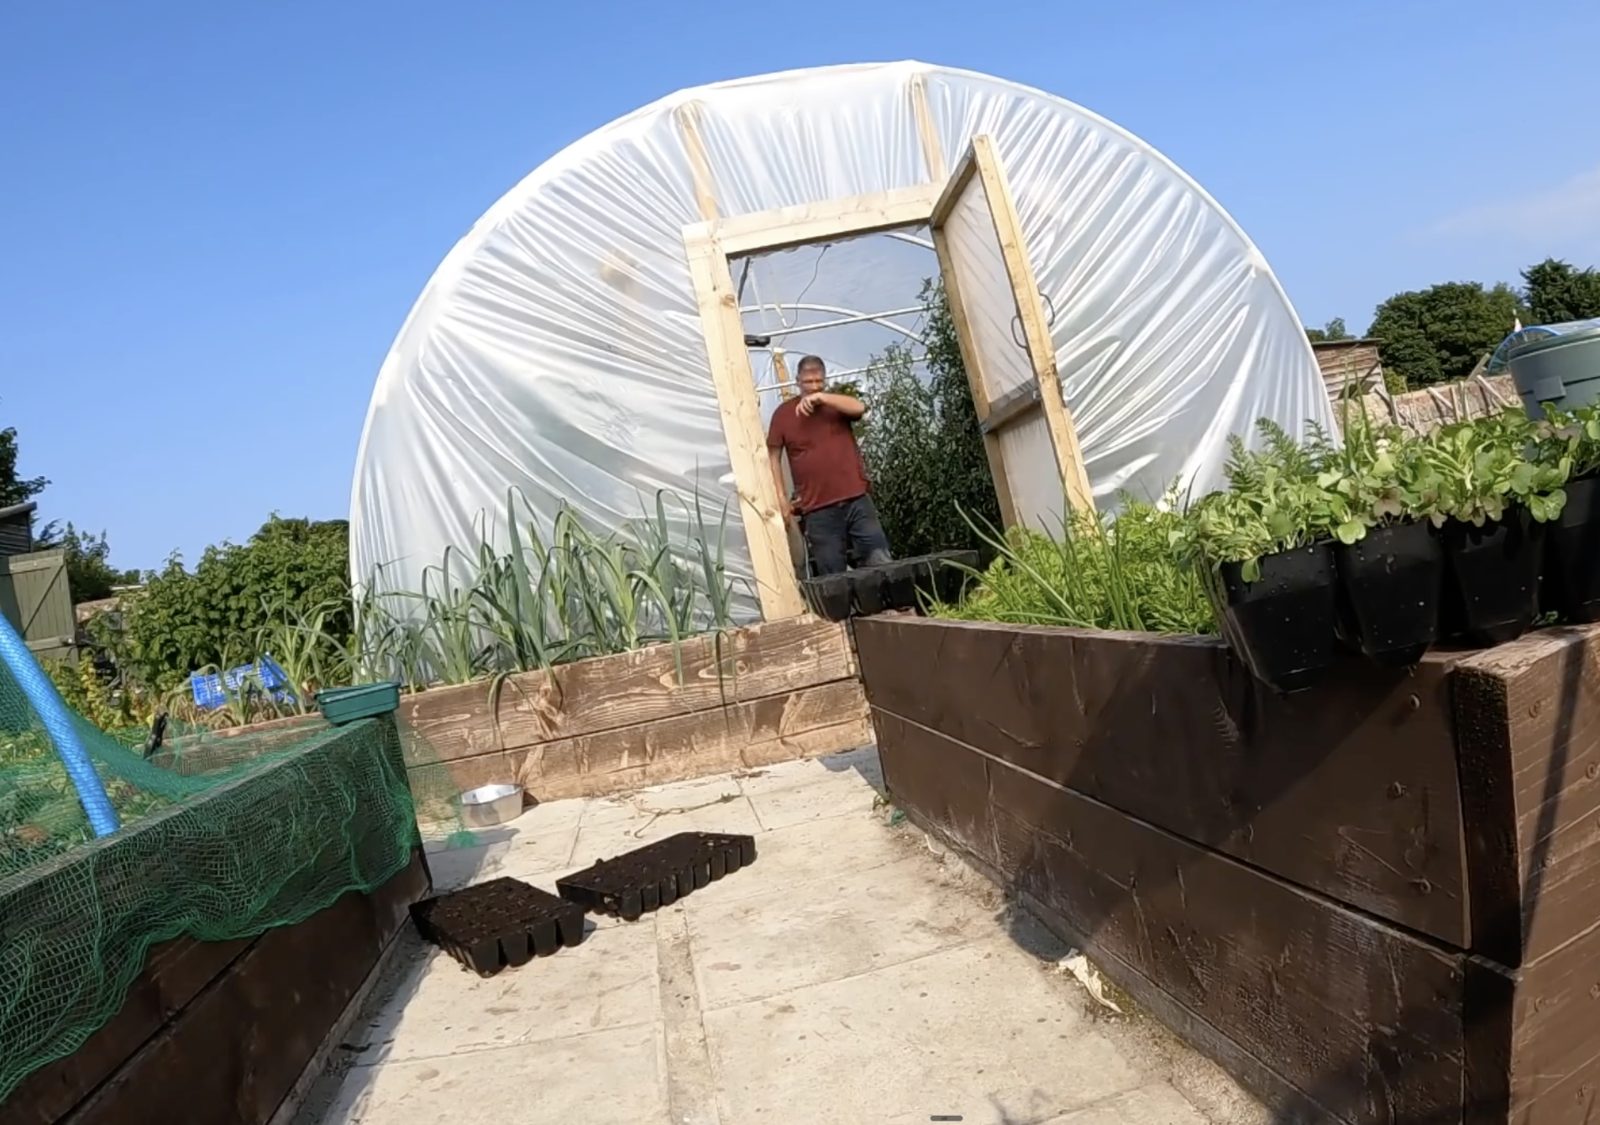
A polytunnel — sometimes called a poly house or a growing tunnel — is basically a semi-circular frame made from steel hoops, covered in a sheet of polythene. That's it. Steel hoops. Plastic sheet. Simple as that.
But that simple structure creates something pretty remarkable: a protected growing environment that's warmer than outside, sheltered from wind and rain, and gives you control over conditions that you just don't get in an open plot. The polythene lets sunlight through, the enclosed space traps warmth, and suddenly you've got a little microclimate all of your own.
They come in all sizes — from small 8-foot-wide ones that fit on an allotment plot, right up to massive commercial tunnels used by market gardeners. The most common sizes for home growers and allotment holders are 8ft, 10ft, and 14ft wide, and anywhere from 10ft to 30ft long. Even a small one gives you a surprising amount of growing space.
Most people either go too big or too small on their first tunnel. Too big and you can't manage it. Too small and you're kicking yourself by July cuz everything's crammed in. For an allotment, a 10ft x 20ft tunnel is a cracking size to start with — big enough to grow a proper range of crops, small enough that one person can look after it without it becoming a second job. We'll go deep on sizes in Module 2, but for now — just know that you don't need a massive one to make a massive difference.
The Benefits — Why It's a Game-Changer
Right, let's talk about why polytunnels are such a big deal for UK growers. Cuz honestly — and I say this having grown on an allotment for years before I got one — the difference is night and day. Here's what actually changes when you've got a tunnel.
You get 8 to 12 extra weeks of growing season. That's massive. In the UK, our outdoor growing season is basically May to September — and even then the weather doesn't always cooperate. A polytunnel lets you start sowing four to six weeks earlier in spring and keep harvesting four to six weeks later in autumn. Some things — winter salads, hardy greens — you can grow right through the cold months. You go from a five-month season to practically year-round production.
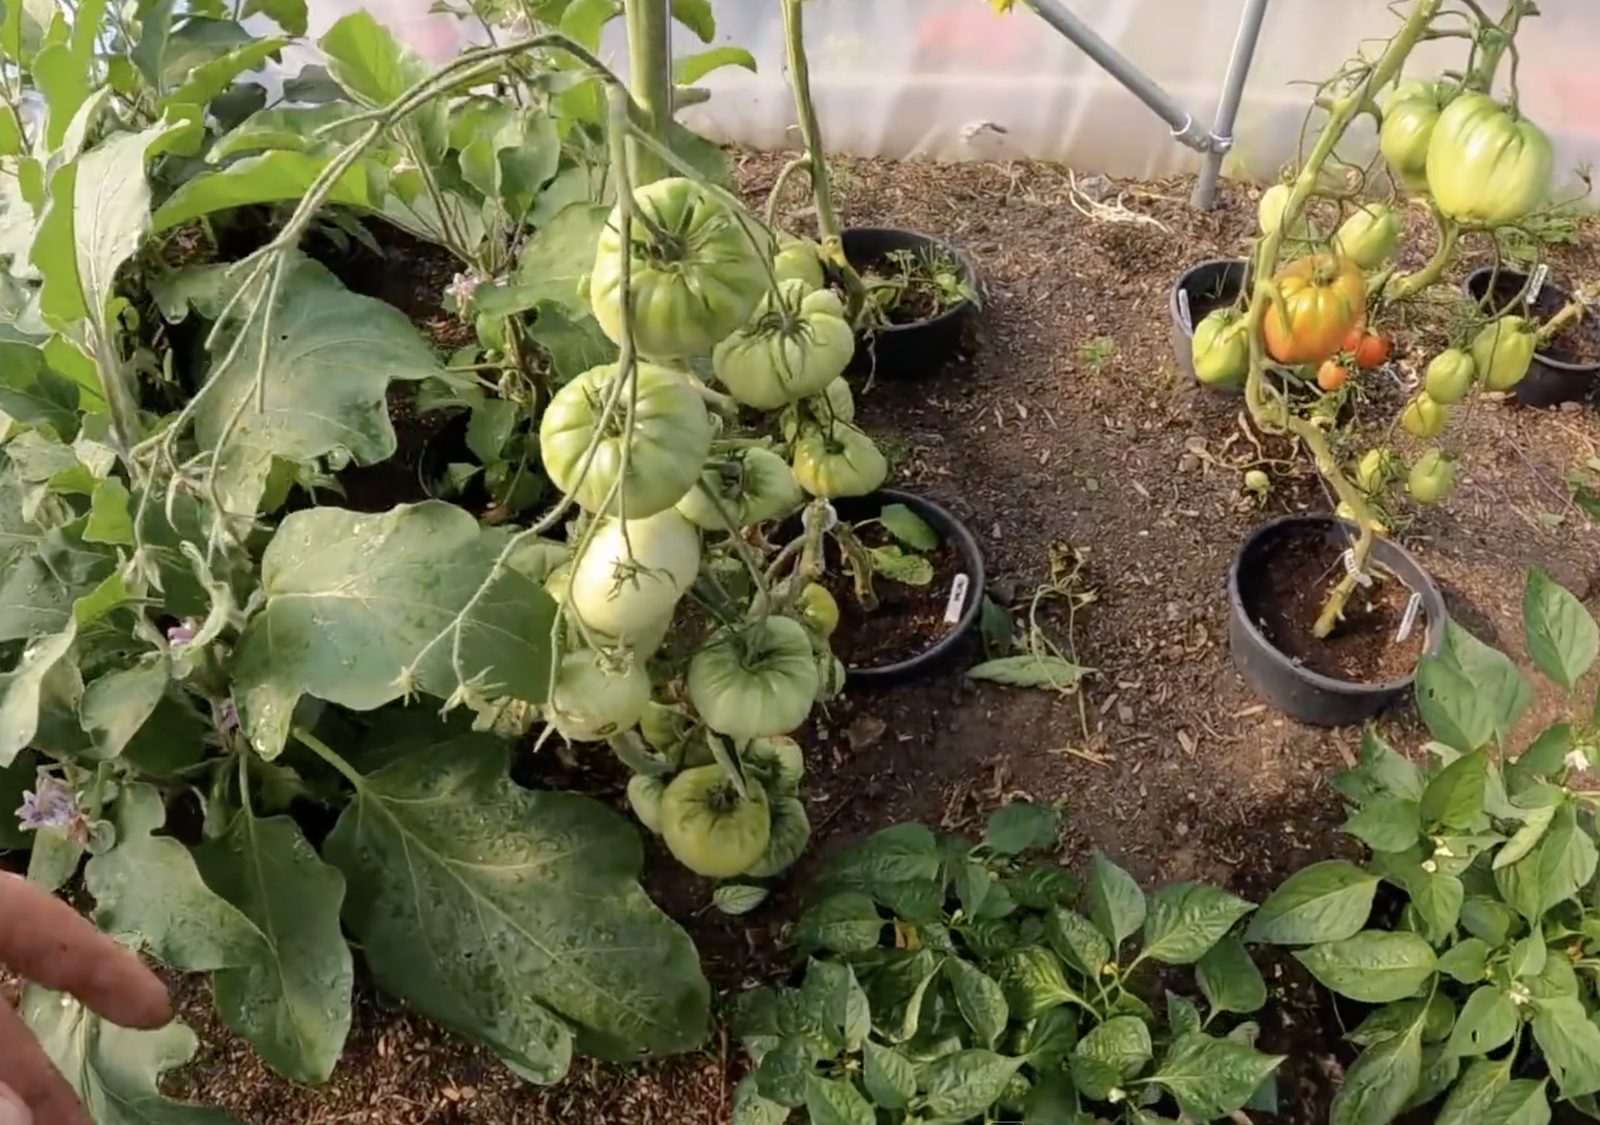
You can grow things that just don't work outside in the UK. Tomatoes, peppers, chillies, aubergines, cucumbers, melons — these are all crops that need warmth and shelter to produce properly. Outside in the UK, they're a gamble at best. In a polytunnel, they're reliable. My tomatoes in the tunnel are completely different to anything I ever managed outside. We're talking buckets of the things, ripening on the vine, right into October. And peppers — man, the peppers. I could never get peppers to properly ripen outside. In the tunnel? Absolute belters.
Your crops are protected from the weather. No wind battering your beans. No heavy rain splitting your tomatoes or spreading blight. No late frost wiping out your courgette seedlings. The tunnel is a shield against all the stuff that makes UK growing so unpredictable. It doesn't eliminate every problem — you'll still get pests and you'll need to manage heat in summer — but it takes the worst of the weather out of the equation.
You get more from a smaller space. Cuz the conditions are better, plants grow more vigorously and produce more. A row of tomatoes in a tunnel will out-produce the same row outside by a huge margin. And because you're growing over more of the year with succession planting, you can get two or three crops from the same bed in a single season. That's efficient, man. That's making every square foot count.
I'll never forget the first tomato I picked from the polytunnel. It was a Sungold — you know, the little orange cherry ones. And I picked it, still warm from the sun, and ate it right there in the tunnel. And the taste, man. The taste. It was like eating a completely different fruit to anything I'd ever grown outside or bought in a shop. Sweet, warm, properly ripe. I stood there thinking — right, this is what all the fuss is about. One tomato and I was completely converted.
That was years ago now. I've grown hundreds of kilos of tomatoes since. But I still remember that first one. You will too.
Polytunnel vs Greenhouse — The Real Differences
This is one of the first questions everyone asks: should I get a polytunnel or a greenhouse? They're both covered growing spaces, right? So what's the actual difference? Fair question. And the answer matters, cuz they're quite different beasts in practice.
- Much cheaper — about a third of the cost
- Far more growing space for the money
- Two people can put one up in a day
- Can go on uneven or sloping ground
- Even light distribution — no hot spots
- Easy to move or reposition
- Cover lasts 5–7 years (then replace)
- Wind can be an issue — needs sheltered site
- Retains heat better (15–85% more)
- Glass lasts 50+ years — no replacement
- Better pest exclusion
- Stronger in high winds
- More expensive for the same growing area
- Needs a flat, level base (often concrete)
- Takes longer to build — usually 2+ days
- Can create scorching hot spots in summer
So which one? If I'm honest — and this is a polytunnel course, so you probably know where I'm heading — for most allotment holders and home growers, a polytunnel gives you far more bang for your money. You get three to four times the growing space for the same budget. You can put it up yourself in a day with a mate. And you can grow everything you'd grow in a greenhouse plus more, cuz you've got room to actually walk around and work in it.
Greenhouses are brilliant for smaller gardens where you want something neat and permanent. But if you've got the space and you want to properly grow food at scale? Polytunnel every time. Fair enough, the cover needs replacing every five to seven years — but that costs maybe 15 to 20% of what you paid originally. Over fifteen years, a polytunnel is much cheaper to run than a greenhouse.
If you're deciding between a 6x8ft greenhouse and a 10x20ft polytunnel for the same money — get the polytunnel. Growing space is everything when you're producing food. You'll never wish you had less room. But you'll always wish you had more.
What You Can Grow That You Can't Grow Outside
This is the exciting bit, to be honest. The whole reason most people get a polytunnel. Because suddenly, crops that were a total gamble outside in the UK become reliable, productive, and — this is the important bit — absolutely delicious.
Here's what changes when you've got a tunnel. We'll go into much more detail on all of these in Module 7, but for now — this is the overview of what becomes possible.
The Polytunnel Superstars
Year-Round Salads & Greens
If you're new to polytunnel growing, start with tomatoes, cucumbers, and peppers. These three crops are the reason most people get a tunnel in the first place — and they're the ones where the difference between "grown outside" and "grown under cover" is most dramatic. Get these three right in your first year and you'll be chuffed to bits. Add everything else in year two once you know your tunnel. Like I say — don't try to do everything at once.
Common Myths and Fears — Busted
Right, let's deal with the worries. Cuz I know there are a few things that hold people back from getting a polytunnel, and some of them are legitimate concerns and some of them are just — well, myths that get passed around. Let's go through them one by one.
This puts so many people off — and in most cases, it's simply not true. Domestic polytunnels for personal gardening or food production are generally classified as temporary structures, and you do not need planning permission. They can be moved or taken down without permanent change to the land.
There are exceptions: if your tunnel is over 3 metres high, if you're in a conservation area or national park, or if it's flush against a boundary and over 2.5 metres tall. In those cases, check with your local planning authority. But for a standard allotment or garden polytunnel? You're almost certainly fine.
On allotments, you'll need permission from your site committee — but that's not the same as planning permission. Most allotment sites allow polytunnels, though some have rules about maximum size. Always ask first.
This one has a grain of truth — but it's manageable, not a deal-breaker. Yes, a sealed polytunnel on a warm day will get very hot. On a sunny day when it's 20°C outside, it can easily hit 35°C or more inside if the doors are shut. That's too hot for most crops.
But here's the thing — you don't leave the doors shut. Ventilation is how you manage a polytunnel, and it's dead simple. Open both doors in the morning, close them in the evening. For longer tunnels, side vents make a big difference. On really hot days, you can damp down the paths with water to cool things. And shade netting is cheap and effective if you need it.
Once you get into the routine — and it literally takes two minutes a day — summer heat is not a problem. It's just part of managing your growing environment. We cover this properly in Module 6.
Right, I'm going to be honest here — this one is a legitimate concern, not a myth. Wind is the number one cause of polytunnel damage. The cover acts like a sail, and a strong gust can rip it or even lift the whole structure if it's not properly anchored and sited.
Most polytunnel manufacturers don't cover wind damage in their warranties. Most insurance companies exclude it too. So you need to take this seriously.
But — and this is important — siting your tunnel properly solves most of the problem. Put it in a sheltered spot, use proper ground anchors, and if you're on an exposed site, plant a windbreak hedge. A 2-metre hedge provides wind protection for up to 50 metres behind it. We go into detail on siting in Module 3, and it's one of the most important decisions you'll make.
Compared to what? Compared to not having one, yes — there's an upfront cost. A decent hobby-sized polytunnel (say 10ft x 20ft) will set you back somewhere around £400 to £700 depending on the supplier and spec. Then you've got extras — ground anchors, a door kit, maybe some raised bed materials.
But compared to a greenhouse of the same size? A polytunnel costs about a third as much. And for that money, you get a lot more growing space. Plus, most growers recoup their investment within two to three seasons through the sheer volume of food they produce.
When you factor in what you'd spend on tomatoes, peppers, cucumbers, and salad from the supermarket over a year — and then multiply that by years and years of production — a polytunnel is one of the best investments you can make as a grower.
Let's be fair — a polytunnel isn't zero maintenance. You'll need to water (no rain gets in, so you're the rain), manage ventilation, and keep on top of things like any growing space. The cover needs cleaning occasionally and replacing every five to seven years.
But "a lot of work"? Nah. Once you're in a routine, polytunnel management adds maybe 10 to 15 minutes a day to your allotment visit. Open doors, water, check plants, close doors. That's it most days. And in winter, when there's less going on, it's even less.
The watering is the main extra commitment compared to outdoor growing. But with a soaker hose or drip system — which we'll cover in Module 9 — even that becomes largely automatic.
Some allotments do have restrictions, and no two sites are the same. Some limit polytunnel sizes (common limits are around 6m x 3m or 20ft x 10ft). Some require you to apply to the committee. A few don't allow them at all — though that's becoming rarer as polytunnels get more popular.
The answer is simple: ask your allotment committee before you buy anything. Get it in writing if you can. Most sites are perfectly happy with a reasonable-sized tunnel, especially if you explain what you want to grow and where you want to put it.
Planning Permission — The Actual Rules
Since this comes up so often, let's lay out the UK planning rules properly. This isn't legal advice — always check with your local planning authority if you're unsure — but here's the general position as it stands.
In your garden: Domestic polytunnels for personal use generally don't need planning permission. They're treated as temporary structures. However, there are size limits under permitted development rules: no higher than 3 metres (or 4 metres with a pitched roof), and you shouldn't cover more than 50% of the land around your house with outbuildings and structures combined.
On an allotment: Planning permission typically isn't required for allotment polytunnels, but you almost always need permission from your allotment association or committee. Size limits vary — common maximums are around 6m x 3m (roughly 20ft x 10ft), but some sites allow larger. Some require a formal application. Ask before you buy.
Special areas: If you're in a conservation area, national park, Area of Outstanding Natural Beauty, or a listed building curtilage, the rules are stricter. You'll likely need to check with the planning authority regardless of size.
Whether it's your allotment committee or your local council, a quick phone call or email before you order will save you a world of trouble. I've seen people put tunnels up without asking and then have to take them down. That's money wasted and relationships damaged. Don't be that person. Five minutes of checking. That's all it takes.
The Honest Truth About Maintenance
I'm not going to tell you a polytunnel looks after itself, cuz it doesn't. But I'm also not going to make it sound harder than it is. Here's what you're actually signing up for — the real daily, weekly, and seasonal jobs.
The big one is watering. No rain gets into a polytunnel, so you're responsible for every drop of water your plants get. In summer, that means watering every day — or every other day if you give them a proper deep soak. A soaker hose or drip irrigation system (which you can set up for very little money) makes this much easier and more consistent.
The ventilation routine sounds like a faff but it genuinely becomes automatic. Open the doors on your way in, close them on your way out. On warm days, both doors open. On cold days, just one — or none. You get a feel for it within a couple of weeks.
Everything else — cover cleaning, repairs, end-of-season tidy-up — is occasional stuff. Not daily. Not even weekly for most of it. And it's all dead simple when you know how. We'll cover the details in later modules.
The growers who struggle with polytunnels are the ones who try to do everything on a weekend. The ones who love it are the ones who pop in for fifteen minutes every day. Open, water, check, close. That's the whole routine. Do that and your tunnel will reward you with more food than you know what to do with. Like I say — little and often, man. Same as the allotment.
Can a Polytunnel Pay for Itself?
Short answer: yes. And it doesn't take as long as you'd think.
Let's do some rough sums. A decent polytunnel setup — tunnel, ground anchors, maybe some raised bed timber and soil — might cost you anywhere from £500 to £1,000 depending on size and what extras you go for. Let's call it £700 for a solid mid-range setup.
Now think about what you buy from the shops each week. Cherry tomatoes, peppers, cucumbers, salad bags, herbs — in a typical week during summer, you might spend £8 to £15 on that lot. Over a 30-week growing season (which is conservative for a polytunnel), that's somewhere between £240 and £450 saved in a single year. And that's just the basics.
Most polytunnel growers reckon they break even within two to three growing seasons. After that, it's all savings. And with UK supermarket prices going up every year — tomatoes and peppers in particular have been climbing — those savings get bigger over time, not smaller.
There was a stretch last summer — must have been June through to mid-August — where I didn't buy a single bag of salad from the shop. Not one. Every night, I'd walk down to the tunnel and pick whatever was ready. Lettuce, rocket, spinach, spring onions, cherry tomatoes, cucumbers, a pepper if there was one ripe. All from the tunnel.
I added it up once, just out of curiosity. Two months of not buying any salad stuff or tomatoes or peppers from Tesco. It came to just over £90 saved. In two months. And that's not counting all the chillies I dried and the sauces I made. When people ask me "is it worth it?" I just think about those two months and, you know what I mean, the answer's obvious.
Is a Polytunnel Right for You?
Right, let's be properly honest about this. A polytunnel is brilliant — but it's not for everyone, and there's no point going in with your eyes shut. Here's a quick way to think about whether it's the right move for you right now.
A polytunnel is probably right for you if:
- You want to grow tomatoes, peppers, chillies, or cucumbers reliably in the UK
- You want to extend your growing season beyond the usual May-to-September window
- You can commit to visiting your tunnel most days during the growing season (even briefly)
- You've got a reasonably sheltered spot for it — not exposed to strong winds
- You've got permission from your allotment or you've checked your garden doesn't need planning
- You're happy with the upfront cost and understand it's a 2–3 season payback
- You enjoy growing food and want to take it to the next level
A polytunnel might not be right for you (yet) if:
- You can only visit your plot once a week — watering will be a big problem
- Your site is very exposed with no shelter from wind
- You're still getting to grips with outdoor growing and feel stretched already
- You don't have space — even a small tunnel needs a footprint of at least 8ft x 10ft plus access
And look — if you're on the fence, that's completely fine. There's no rush. Some people read this module and think "right, I'm ordering one tomorrow." Others think "maybe next year once I've got my outdoor beds sorted." Both are good decisions. The tunnel will still be there when you're ready.
But if you're already feeling that excitement — that "I want to do this" buzz — then crack on. It genuinely is one of the best things you can do as a grower. And this course is going to take you through every single step, from choosing the right one all the way to walking out the door with your dinner.
Don't ask "can I afford a polytunnel?" Ask "can I afford not to have one?" — when you think about what it lets you grow, the money it saves over time, and the sheer joy of picking warm tomatoes off the vine in October while everyone else is buying watery supermarket ones. That's the real calculation. And for most growers, the answer is clear.
Right. That's your introduction done. You now know what a polytunnel is, what it can do for your growing, how it compares to a greenhouse, what the real concerns are (and which ones are just noise), and whether it's the right move for you.
In Module 2, we're going to get into the nitty-gritty of choosing the right polytunnel — sizes, frames, covers, doors, brands, and what to actually spend your money on. Cuz not all polytunnels are created equal, and getting the right one from the start saves you a lot of hassle later.
Look after yourselves. Take good care.
— Tony